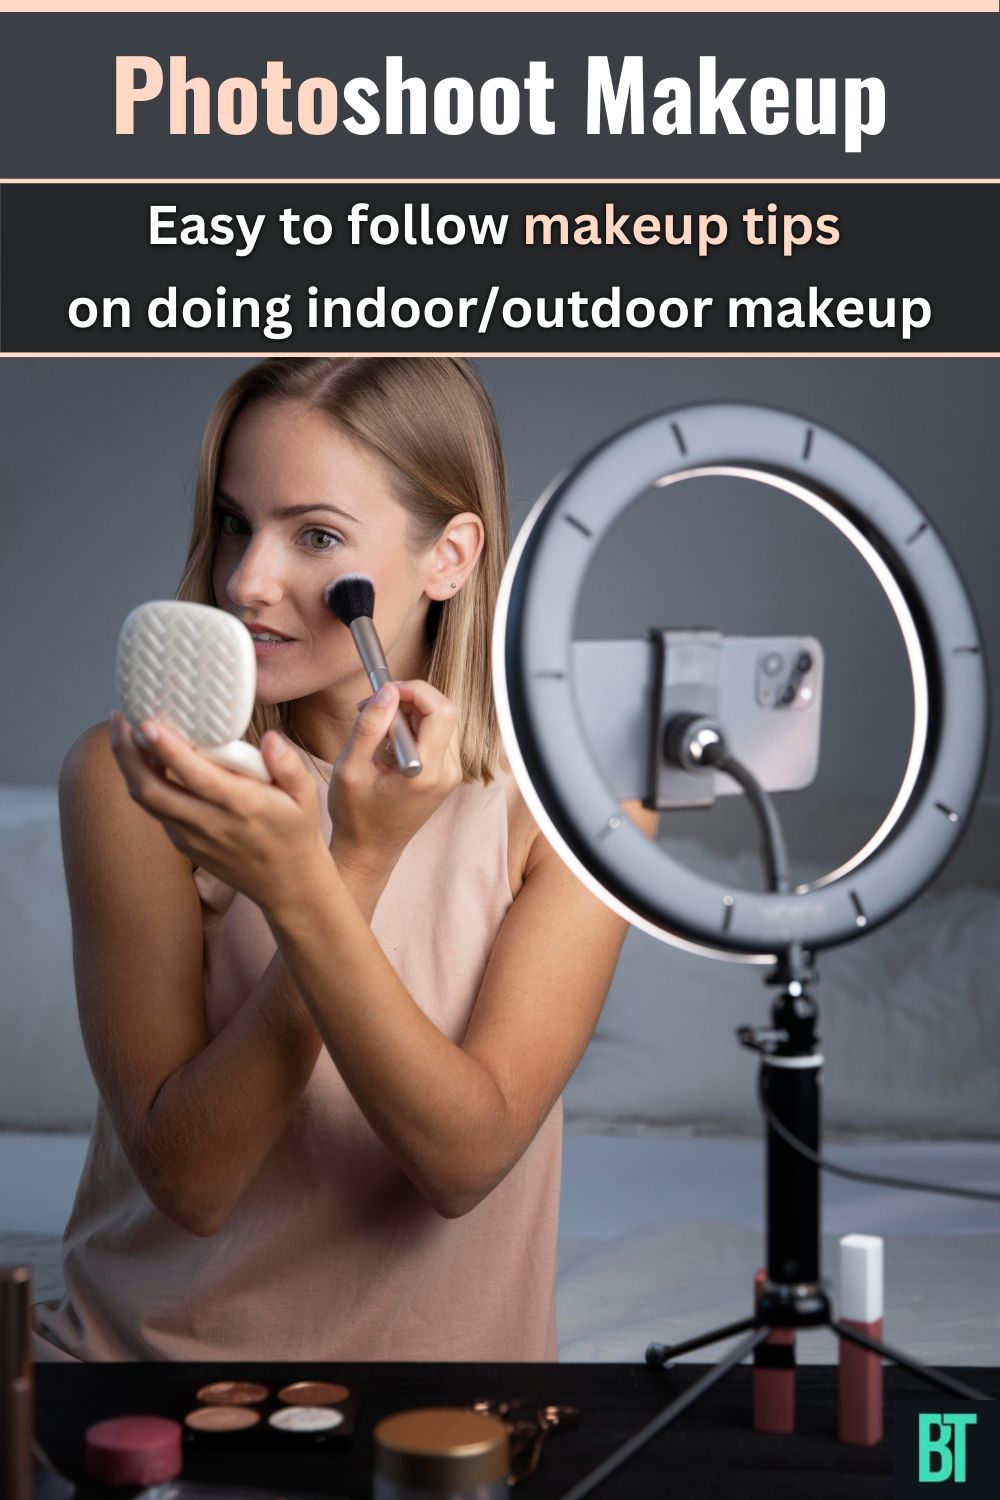
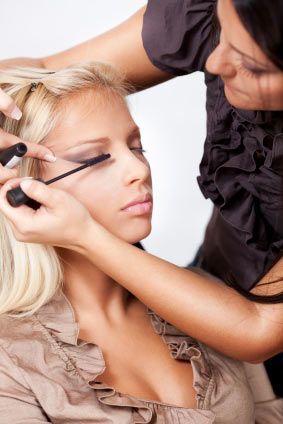
Makeup for photography is quite different from a woman’s day-to-day makeup because the requirements vary. For everyday makeup use, one needs to cover blemishes, age spots and redness on the skin.
Photography requires a little more attention to detail, and should be applied slightly heavier because the camera’s flash or set lighting can wash out the color from your face.
Photography may also require you to apply makeup to areas of your body that are visible such as the shoulders and chest.
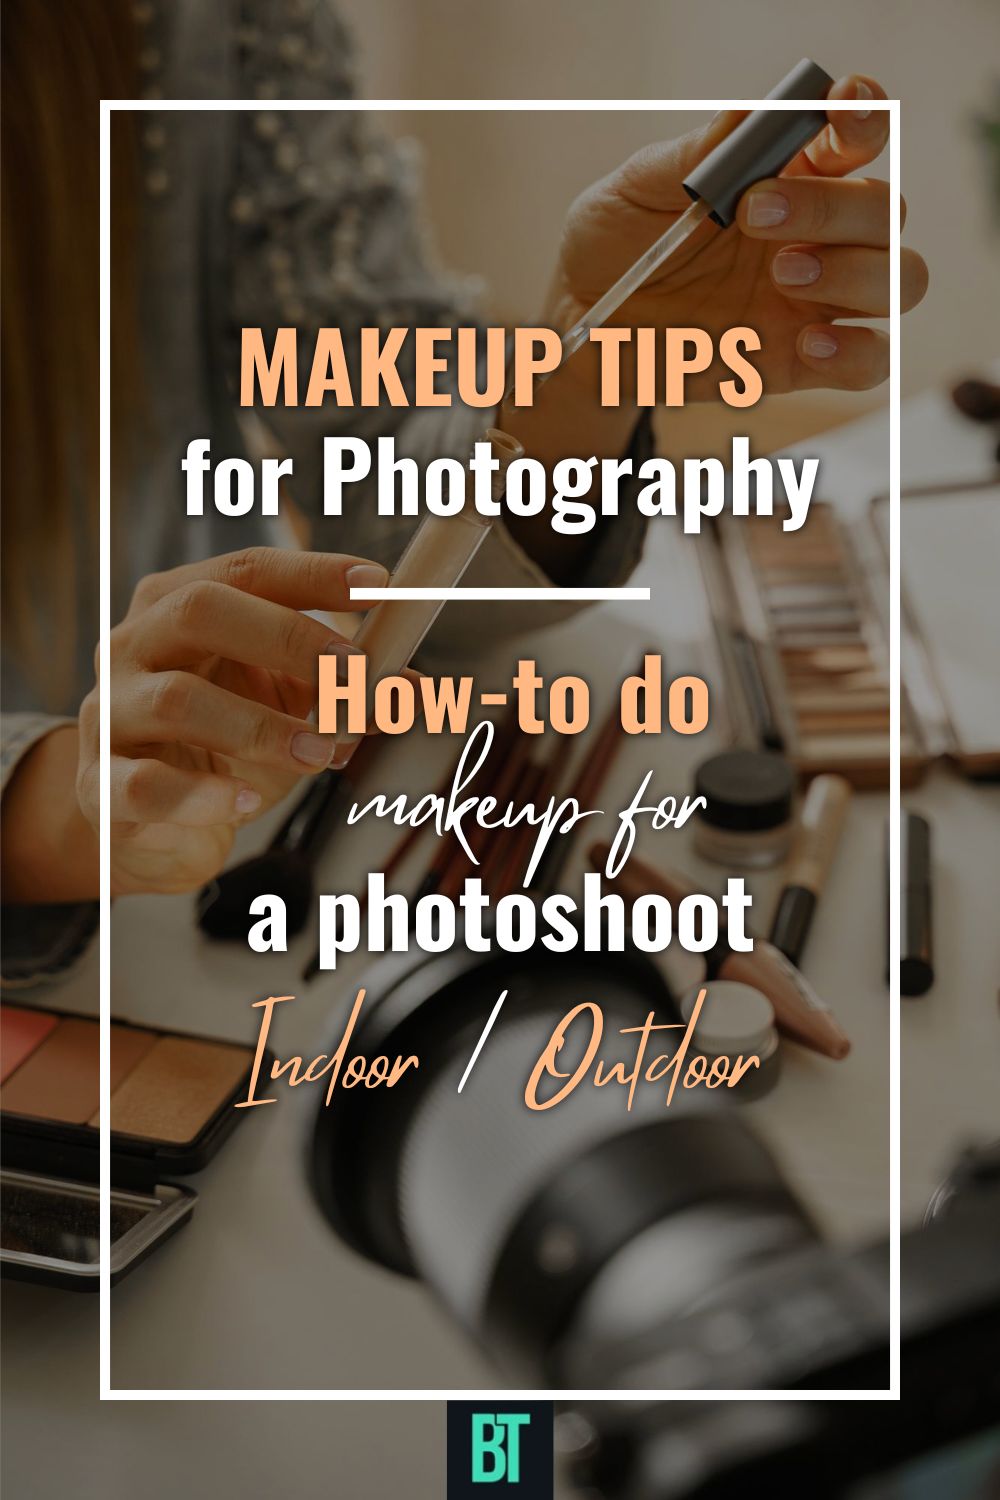
Along with makeup tips, there are also hair styling and fashion tips that will be helpful for both indoor and outdoor photography.
Product Choices & Application Tips
Foundation
 When you’re preparing for a photoshoot day, you’ll want to start with your normal routine before applying foundation and foundation primer.
Wash, exfoliate, and use toner on your face, and if you have stray eyebrow hair, tweeze them out so you don’t have any stragglers. Continue by applying your daily moisturizer. When doing this, it’s important to cleanse your face before applying foundation primer since it gives the foundation longer and stronger staying power; this is because the excess oils have been removed from the surface of your face. Foundation primer smoothes out imperfections like fine lines and wrinkles so that you have a flawless foundation application.
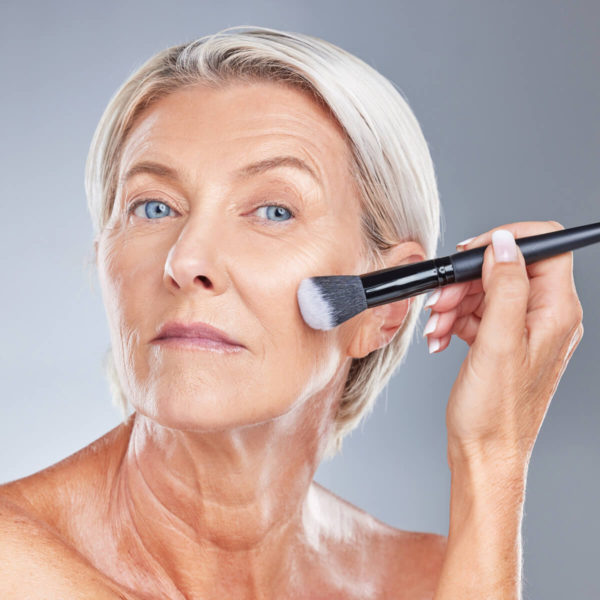
If you are looking for a foundation to use for photography, the most commonly used product is cream or liquid foundation with a matte finish.
- Matte foundations that match your skin perfectly will help you avoid shiny face syndrome in your pictures.
- It’s also worth mentioning that SPF in some foundations can cause you to appear white in pictures so foundations with SPF should definitely be avoided.
- Also, use foundations that won’t break down under the lights or melt away in high humidity.
- Blend your foundation in well to avoid having streaks or lines on your face and neck.
- If you’re wearing clothing that has a low neckline, be sure to apply foundation where your skin is revealed. Use concealer on any areas of your chest, neck, and face that may have blemishes or dark spots.
- Use your concealer to cover dark areas around your eyes as well.
- The last step is to use a pressed powder to set your makeup, and if you want more coverage, find a powder that matches your skin; however, a sheer or translucent matte powder will also work well.
Foundation primer and products to try for photography are Rimmel London Fix and Perfect Foundation Primer, Smashbox Photo Finish Primer, Rimmel London Lasting Finish Foundation and Makeup Forever HD Foundation.
All of these products work well, and the Rimmel London items fit into a tighter budget.
Bronzer
Use a powder bronzer to add a touch of sun to your skin.
- Focus the product more on areas of your face where the sun naturally shines like your temples, forehead, nose, chin and cheeks.
- You can use bronzer to contour your cheeks by applying the product to the hollows of your cheeks; pull the bronzer down your neck to blend the color down.
- Again, if you’re wearing low tops, apply bronzer to the area above your cleavage.
- In a half moon shape, run a fluffy brush with bronzer over the top of your breasts, and over your collar bone, shoulders, and down the center of your chest.
Try:
- Powder Bronzer in the light shade by Milani,
- and for a brighter-appearing face, go over the areas of your face the sun touches like the temples, forehead, chin, cheeks and nose with a different tone of bronzer like Wet & Wild Bronzer in Bali Bronze.
Blush
Blush is just as important as bronzer when it comes to ensuring you don’t look washed-out in pictures.
- Find a flattering color like Cover Girl Cheekers blush in Golden Pink to contour you cheeks.
- Suck your cheeks in and apply the blush a little below the apples of the cheeks to add shape and shadow to your cheekbones. You’ll want to apply the blush slightly heavier than a normal day since the lights can drain color from your skin.
- Follow up with another blush; a popular one is Milani Minerals Blush in Mai Tai, which flatters all skin tones. Use the second color on the apples of your cheeks, and be sure to avoid the nose and blend the color out well.
Finishing Touch
Find a translucent powder like Bare Minerals Mineral Veil to top the face makeup off. This powder will keep your makeup in place longer, and is very light on the skin.
Other options include finding a toning makeup mist or setting spray to spray onto your completed makeup after you’ve finished applying eye and lip makeup.
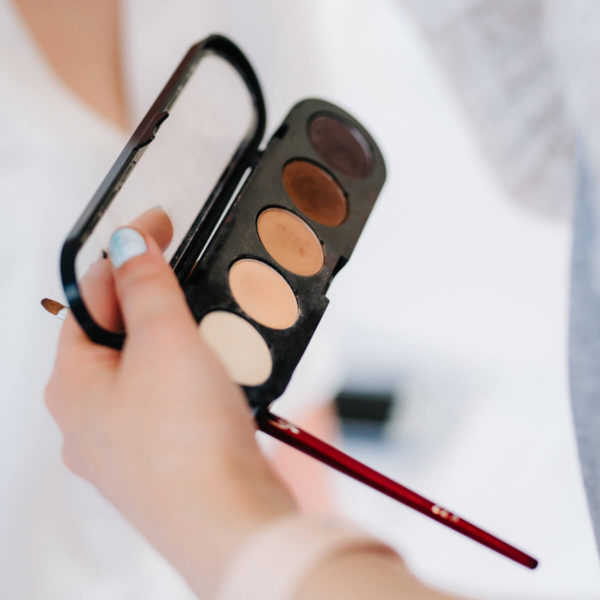
Eye Makeup
- Begin by applying eye shadow primer to your eyelids. A popular eyeshadow primer is Urban Decay’s Eyeshadow Primer Potion; however, Palladio eyeshadow primer is just as effective at a fraction of the cost.
- The next step is to apply your eyeshadow; this will depend entirely on your personal preference, but neutral eyeshadow shades look good on all skin tones, and will enhance the eyes perfectly. Avoid using eyeshadows with sparkles or other reflective qualities on your eyes because the flash from cameras or lights will magnify the shine and can give you undesirable effects.
- Use a matte skin tone color to highlight below your eyebrow.
- Now it’s time for eyeliner: apply liner around on the top lashes. Some product recommendations for eyeliners are Revlon Colorstay pencil liner in Black Brown for the lower lash line, and Revlon Colorstay Liquid Liner in Blackest Black for the upper lash line, as well as for creating a wing.
- Use a translucent powder again with a small concealer brush to dab under the lower lash line to ensure the oils from the eyeliner don’t melt down onto your face.
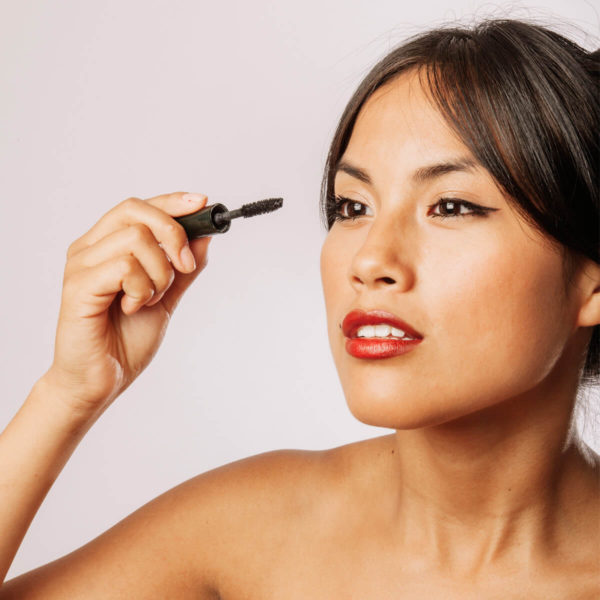
- Curl your lashes with an eyelash curler, and continue by applying mascara.
- A mascara product that is getting rave reviews is Benefit Cosmetics They’re Real Mascara, and another mascara worth mentioning is Maybelline Volume Express Turbo Boost Mascara. Apply a couple layers of mascara to really make them full and long, and bear in mind that having long, full lashes makes your eyes appear more open and awake.
- Fill in your eyebrows by using a matte eyebrow powder or eyeshadow that matches your eyebrow perfectly. Use a small angled brush to fill in the areas that lack hair; to keep the eyebrow hairs in place use a brow gel.
- Finish up by applying false lashes; this is optional, but can enhance your overall look.
Lips
- Use a neutral or nude lip liner to line your lips before applying a nude lipstick. If you’re willing to put color onto your lips, use a berry or light pink shade. Choose a lip liner that is slightly lighter, or matches the lipstick color you will be using to add dimension and color staying power to your lip color. Fill in your entire lip area with the liner before applying your lipstick.
- After the lipstick has been applied, take a coordinating lip gloss and apply it only to the lower lip, focusing on the middle area.
- A stunning combination of lip products are Jordana Easyliner lip liner in Baby Berry, Rimmel Lasting Finish lipstick in Metallic Seduction, and Wet & Wild Lipgloss in Bronze Berry.
- If you only prefer a lip gloss, then apply a moisturizing lip balm of your choice, and use a pink lip gloss like Anastasia Beverly Hills HydraFull Gloss to both of your lips; this product flatters all skin tones and lasts quite a while! If your lips are on the thin side, avoid using dark colors because this makes them look even smaller!
Items to Bring to Photo Shoots and Special Events
Beauty items worth bringing to a photo shoot are:
- Hairspray for flyaway strands of hair,
- teasing brush or comb with a pick or long handle to pump up hair that may have fallen flat due to weather or other reasons.
- Q-tips and makeup remover are nice to clean up makeup that has been smudged,
- Sometimes your lashes can uncurl, so bring an eyelash curler along just in case.
- If you have fake nails or false lashes on, it is best to bring along both nail glue and eyelash glue in case they slip off.
- Blotting papers or matte finished pressed powder are great to bring with you in order to tone down the shiny areas on your face. And with your pressed powder, you will need a brush, so don’t forget that!
A quick tip to help you keep bangs in place…
is to spray a q-tip with hair spray, and then run the saturated q-tip under your bangs for a thorough application. This tip also works if you spray your finger with hairspray as well!
Time for Men
Men may require a small amount of makeup to conceal dark circles, blemishes and wrinkles for professional pictures.
- Begin with a normal routine of washing, exfoliating and toning your skin.
- Apply a foundation primer to fill in any uneven areas of your face.
- Find a concealer that matches your skin, and apply it to any pimples and under-eye discoloration.
- Men should not wear foundation since it makes them appear too made-up and doll-like.
- Use a translucent powder to set the concealer, and pat the areas of your face that tend to be oily like the forehead, chin and nose areas.
- Also, use a lip balm to smooth out any cracks or lines in your lips.
Now some men might flat-out refuse to do any of this stuff, which is fine… if you’re okay with having most sections of your pictures photoshopped.
Clothing for Photography
Dressing in layers is an easy way to add interest to your photographs.
In fact, it has become more popular to dress in layers over the years since men and women alike are finding ways to stretch their wardrobes into fall and winter without purchasing new clothes each season. By dressing in layers, you’re not only getting more wear out of your clothes, but are also able to add layers of personality to your pictures by wearing items with different colors, patterns and textures. When being photographed in a group of people, you can bring cohesiveness back to your pictures when dressing in layers.
Aside from the layers, don’t forget to choose a color scheme as well;
You can go with the classic black, white and gray, or use a paint swatch from the paint section of your local hardware store for more inspiration. Use textures and patterns with your chosen colors to add depth and personality to the photographs.
Keep in mind that you don’t have to go overboard with layering:
- You can wear a pink button-down shirt, a cute gray sweater, and a teal necklace to create the look.
- Cinch your waist with a camel-colored belt, and wear a pair of blue jeans and camel boots.
- Men can layer for photography by wearing denim, a flannel button-down shirt, a light gray sweater and white shoes.
These small details will enhance your photos, and are more interesting than just blue jeans and a pink shirt.
It’s simple, but enough to create interest for the photograph. Another idea for either a man or woman is to wear a well-tailored jacket or blazer over a light-colored shirt with jeans. If you’re still not sure, ask your photographer what their opinion is since some like to be flashier than others.
What Not to Wear
- Avoid wearing revealing clothing, and clothing that shows bra straps or tan lines.
- Also, don’t wear more than one pattern on yourself.
- If you’re in a group of more than two people, having one other person with an item of clothing that has a similar or corresponding pattern will create uniformity.
When it comes to photography, you always want to put your best face forward, and hopefully these tips and tricks will help you achieve beautiful pictures for all of the various occasions you encounter throughout the year!